
How to Choose the Right Oil Seal for Your Application
Selecting the right oil seal is one of the most critical decisions you'll make for your machinery, automotive equipment, or industrial systems. A properly chosen oil seal prevents leaks, reduces downtime, extends equipment life, and saves you significant costs in repairs and maintenance.
However, with so many seal types, materials, and sizes available, the selection process can feel overwhelming. This comprehensive guide will walk you through everything you need to know to make an informed decision.
💡 Key Insight: Studies show that up to 60% of premature equipment failures are caused by improper seal selection. Taking the time to choose the right seal from the start can save thousands in repair costs.
Understanding Oil Seals: The Basics
Before diving into selection criteria, it's essential to understand what an oil seal does and how it works.
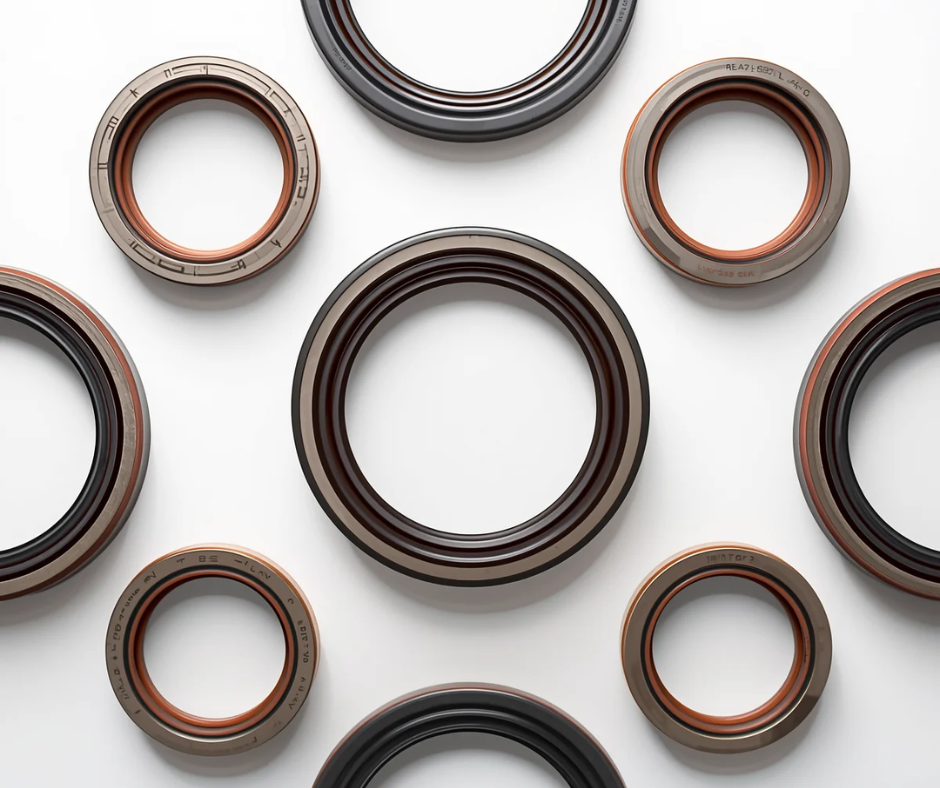
An oil seal, also known as a rotary shaft seal, is a mechanical device designed to retain lubricants in rotating equipment while preventing contaminants like dirt, dust, and moisture from entering. The seal consists of a metal case, an elastomeric sealing lip, and a garter spring that maintains lip pressure against the shaft.
Key Components of an Oil Seal
- Outer Case: Provides structural integrity and ensures proper fit in the housing.
- Sealing Lip: The primary sealing element that contacts the shaft.
- Garter Spring: Maintains constant lip pressure for effective sealing.
- Secondary Lip: Optional; provides additional protection against contaminants.

Step-by-Step Guide to Selecting the Right Oil Seal
Step 1: Identify the Application Requirements
Start by understanding the specific conditions your seal will face:
- Rotational Speed: High speeds require seals with better heat dissipation and friction resistance.
- Temperature Range: Extreme temperatures affect elastomer performance and longevity.
- Pressure Conditions: Higher pressure applications need reinforced seal designs.
- Fluid Type: The fluid being sealed determines the compatible elastomer material.
- Environmental Factors: Exposure to UV, ozone, or chemicals affects seal durability.

Step 2: Choose the Right Material
Selecting the correct elastomer material is the most critical decision. Here's a quick guide:
| Material | Temperature Range | Best Applications | Limitations |
|---|---|---|---|
| NBR (Nitrile) | -40°C to +120°C | General-purpose, automotive, petroleum fluids | Poor ozone/UV resistance |
| FKM/Viton | -20°C to +200°C | High-temperature, aggressive chemicals | Higher cost |
| Silicone | -60°C to +180°C | Extreme cold/hot, food grade | Low tear resistance |
| PTFE | -200°C to +260°C | Chemical resistance, extreme temperatures | Low elasticity |
| HNBR | -30°C to +150°C | High abrasion, ozone resistance | Higher cost |
🔧 Pro Tip: When in doubt, consult the seal manufacturer's compatibility charts. Most manufacturers provide detailed guides for their specific materials.
Step 3: Determine the Correct Size
Proper sizing is essential for optimal seal performance. You need three key measurements:
- Shaft Diameter: The exact diameter of the rotating shaft.
- Bore Diameter: The housing bore where the seal will be installed.
- Seal Width: The axial width of the seal.
Always measure precisely and account for wear on the shaft. If the shaft has wear grooves, consider using a speedi-sleeve or selecting a seal with a wear compensation design.
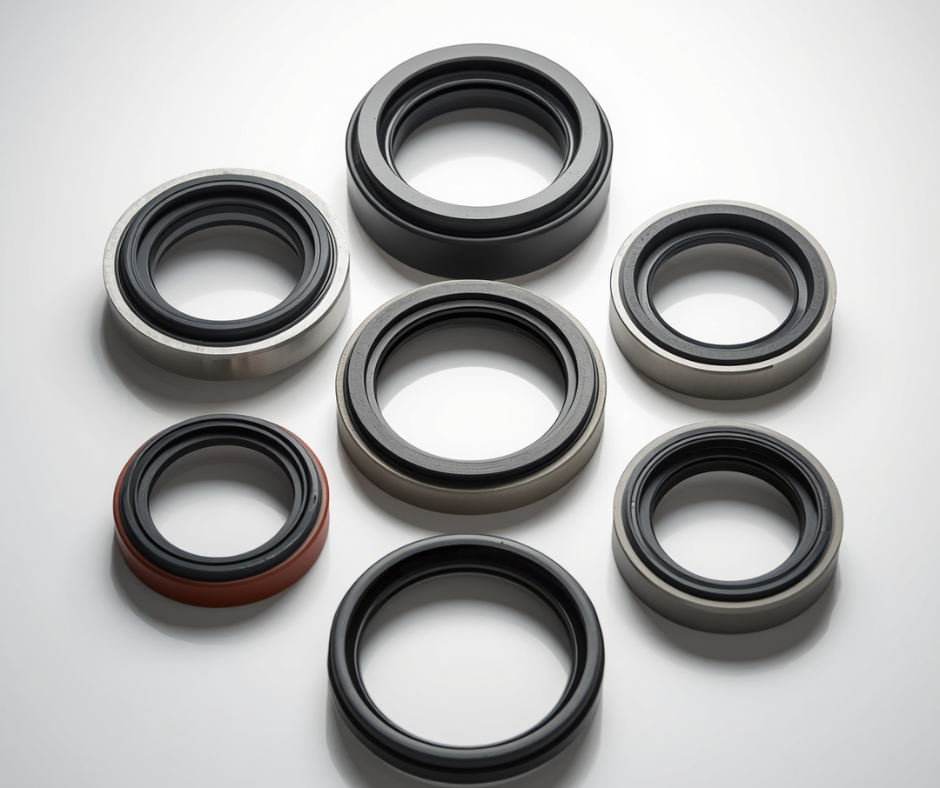
Common Seal Types and Their Applications
| Seal Type | Best Applications | Key Features |
|---|---|---|
| Single-Lip | General-purpose, light-duty | Simple design, cost-effective |
| Double-Lip | Heavy-duty, contaminated environments | Secondary lip for protection |
| Metal-Cased | High-pressure, harsh conditions | Superior stability and durability |
| Rubber-Cased | Standard applications, easy installation | Better sealing on rough housings |
Common Mistakes to Avoid
✅ Best Practices
- Measure shaft and bore accurately
- Match material to fluid compatibility
- Consider temperature extremes
- Use proper installation tools
- Lubricate seal lip before installation
❌ Common Mistakes
- Choosing by price alone
- Ignoring temperature limits
- Reusing old seals
- Damaging lip during installation
- Not considering shaft wear
Installation Best Practices
Even the best seal will fail if installed incorrectly. Follow these essential tips:
- Inspect the shaft: Ensure it's smooth and free of burrs or scratches.
- Lubricate properly: Apply a thin layer of compatible lubricant to the seal lip.
- Use proper tools: Use installation sleeves and tools to prevent lip damage.
- Avoid cocking: Ensure the seal is installed straight in the bore.
- Check seating: Confirm the seal is fully seated against the bore shoulder.
When to Replace Your Oil Seals
Signs that indicate it's time to replace your oil seals:
- Visible leaks: Oil spots or puddles around the equipment.
- Excessive wear: Scoring or damage on the shaft.
- Heat damage: Hardened or cracked seal lips.
- Contamination: Foreign particles in the lubricant.
- Noise: Squealing or grinding sounds from the shaft area.
Need Help Choosing the Right Seal?
Selecting the perfect oil seal for your application doesn't have to be complicated. Our team of experts is ready to help you find the right solution for your specific needs—whether it's a standard size or a custom requirement.
📞 Call us: +971 5037 56766
✉️ Email: hasnain@hamzaoilseals.com
Request a Quote →